My first full day in the Mendocino area yielded no signs of direct clay deposits, but I was determined to find anything! The next day I drove down a few dirt roads and visited the local hardware store for more supplies and sieves. On my way to Ukiah from Boonville (the town closest to Camp Navarro), my head was turning left and right at the road cuts-clay!!! I soon pulled over to take a photo of a beautiful rainbow in the sky when I found my deposit, a beautiful rich red clay! I gathered about 10 gallons and left an earth offering for the land.
That evening I started processing the clay by drying it out fully overnight and then stomping it into a powder the next morning. I added water to the buckets of now powder and let all the natural material level out by weight. The water rose to the top, then the leaves and sticks, clay, and heavy gravel. I poured out the water on the top and sieved the liquid clay slip into clean buckets. I gifted back all the water and debris to the earth and poured slabs of the liquid clay onto large pieces of canvas to dry. After flipping the slabs several times to assure even drying, I cut the slabs up into smaller chunks and started wedging the clay into a workable consistency. After I made about 20-30 1lb. balls, I added temper. This is one of the most crucial points of primitive pottery!
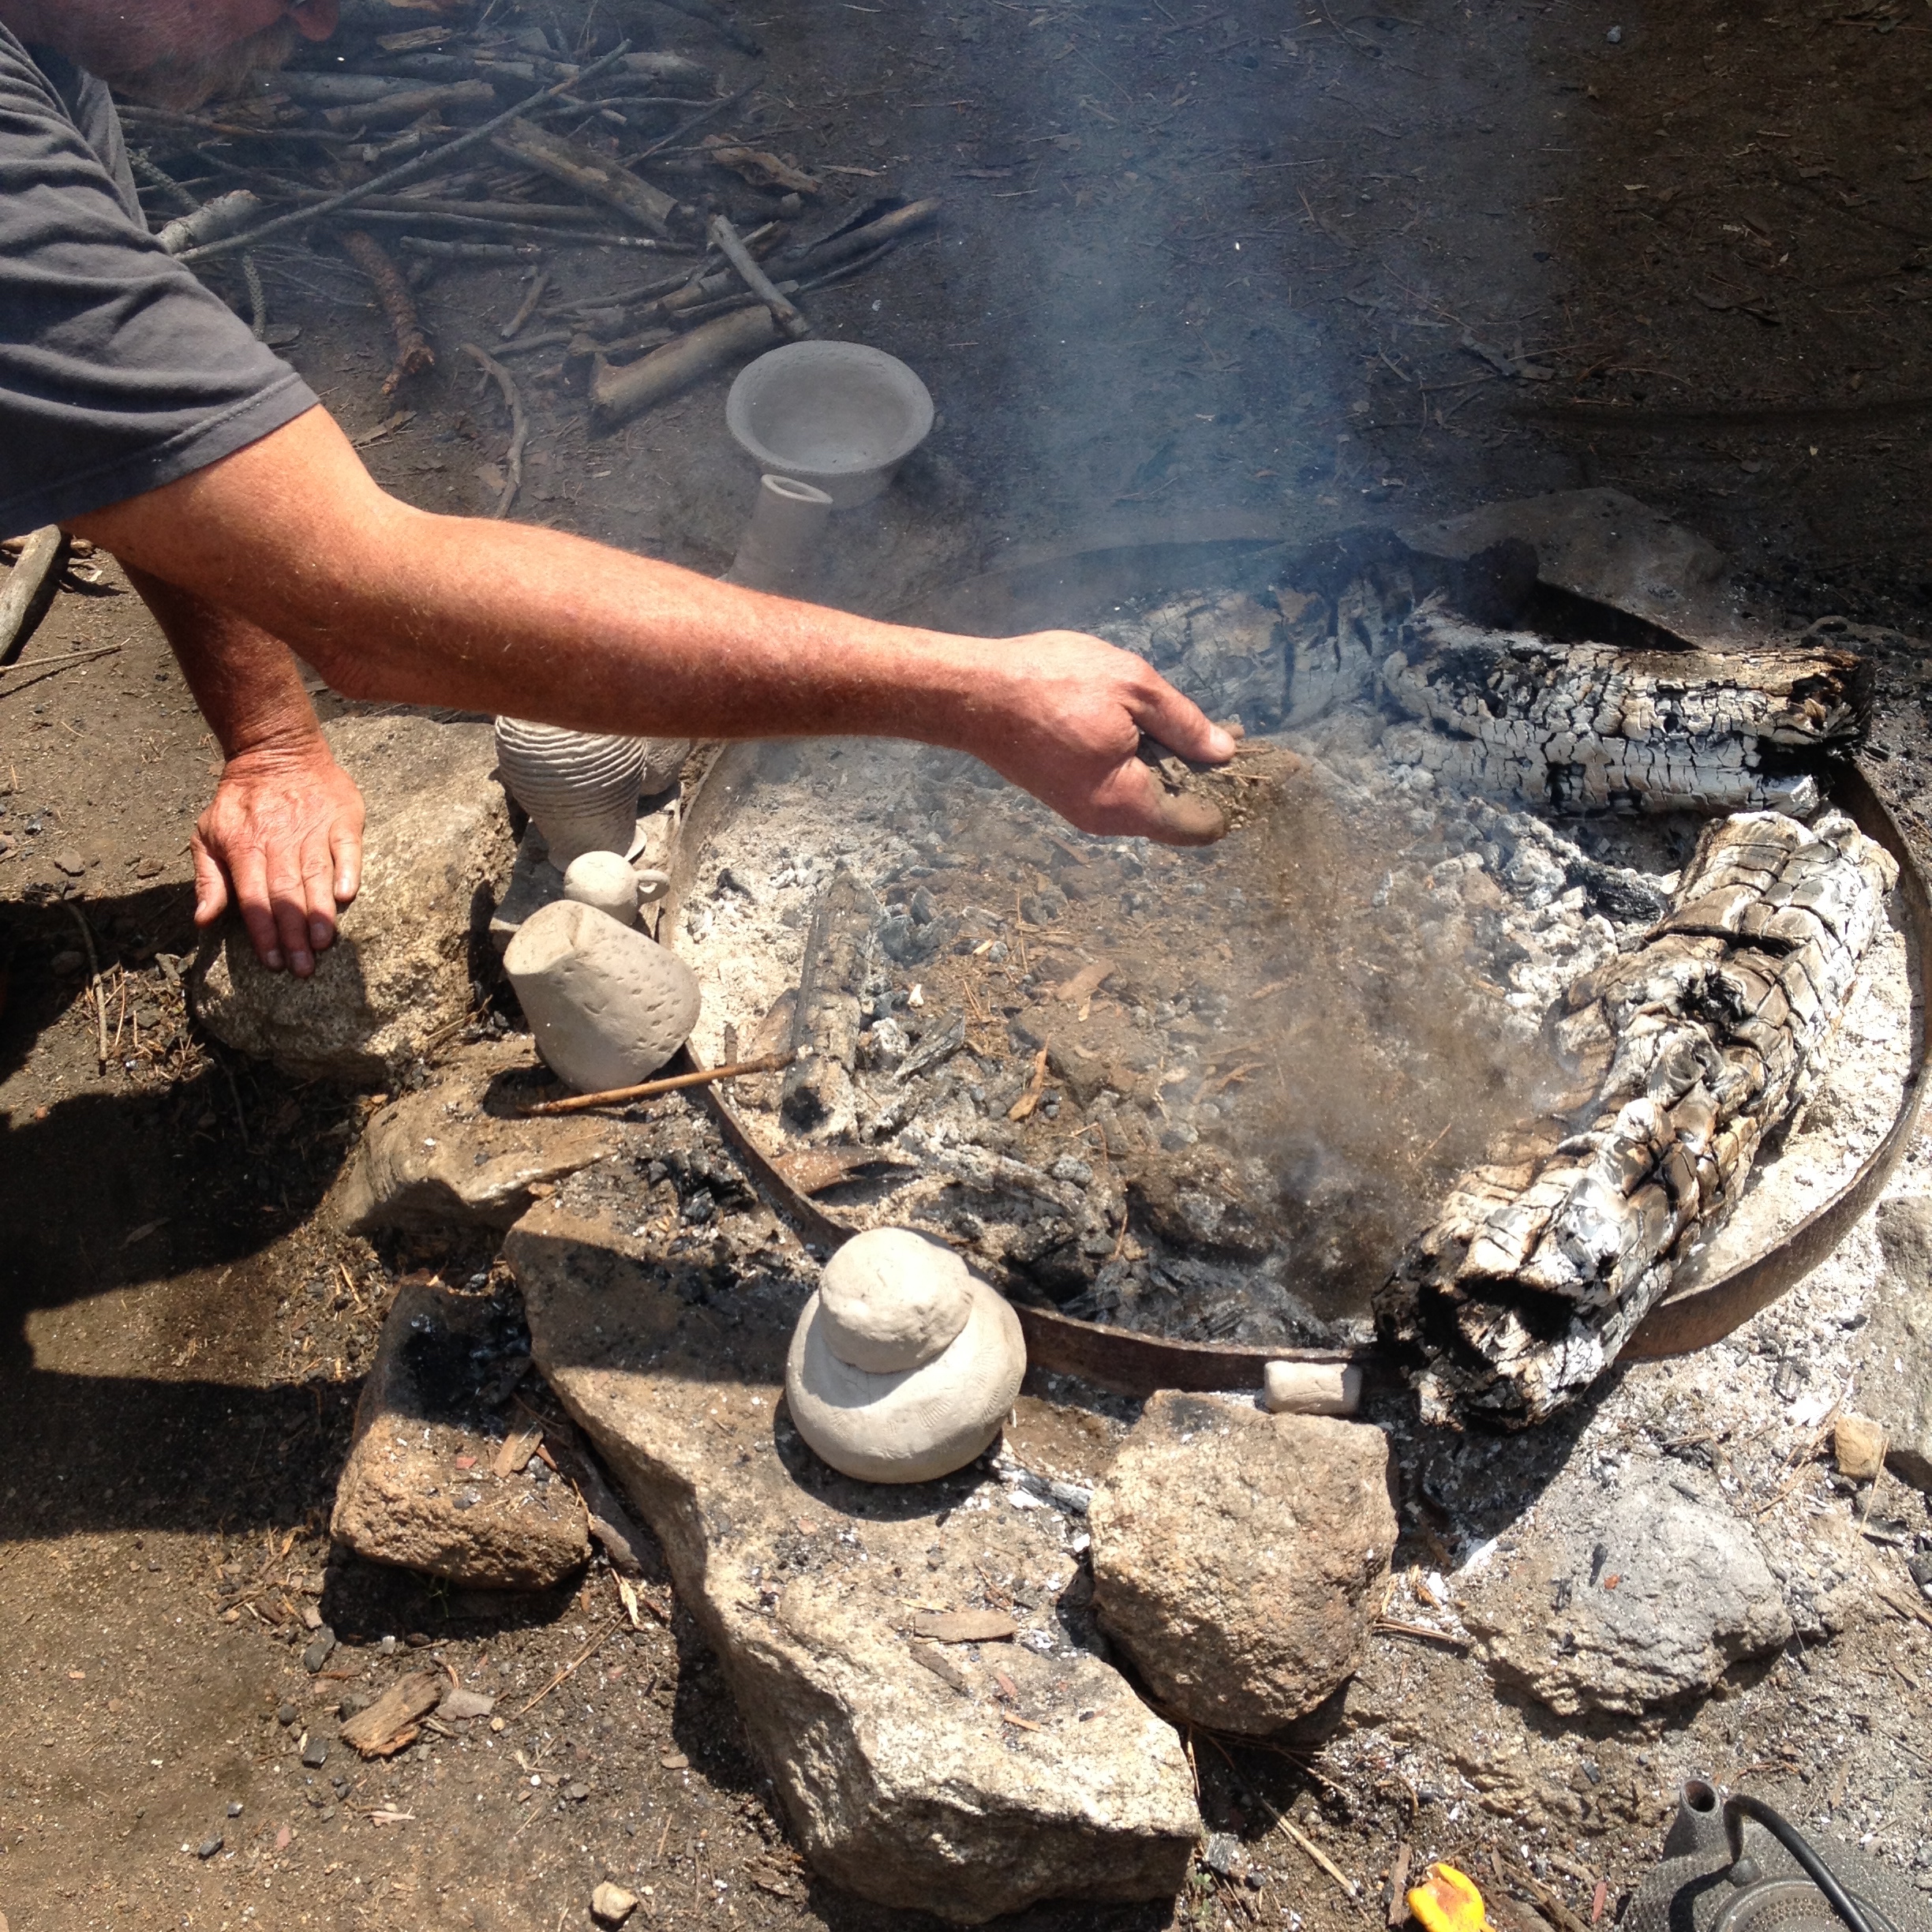
Temper can either make or break your piece, literally. Temper is essentially small pieces of silica (grog), that when added to clay acts as small tiny cracks to help the pot during the thermal shock of the firing. It helps your piece shrink and expand with the fast heating and cooling of an open pit fire. Temper can be found almost anywhere and can be made from ground up quartz granite to chunky sand. The Navarro River runs through Camp Navarro, so I was lucky enough to find river sand in the perfect size temper I needed. I added a small handful at a time and wedged the sand into the clay to fully integrate.
I let the 1lb. balls sit overnight and we used them the next day. Ideally this process takes about a week or two, but for the purpose of the class I'm glad I was able to make it work in three days or so. I gathered enough clay, so that next year I can arrive with the local clay pre-mixed, tempered, aged, and ready to go.
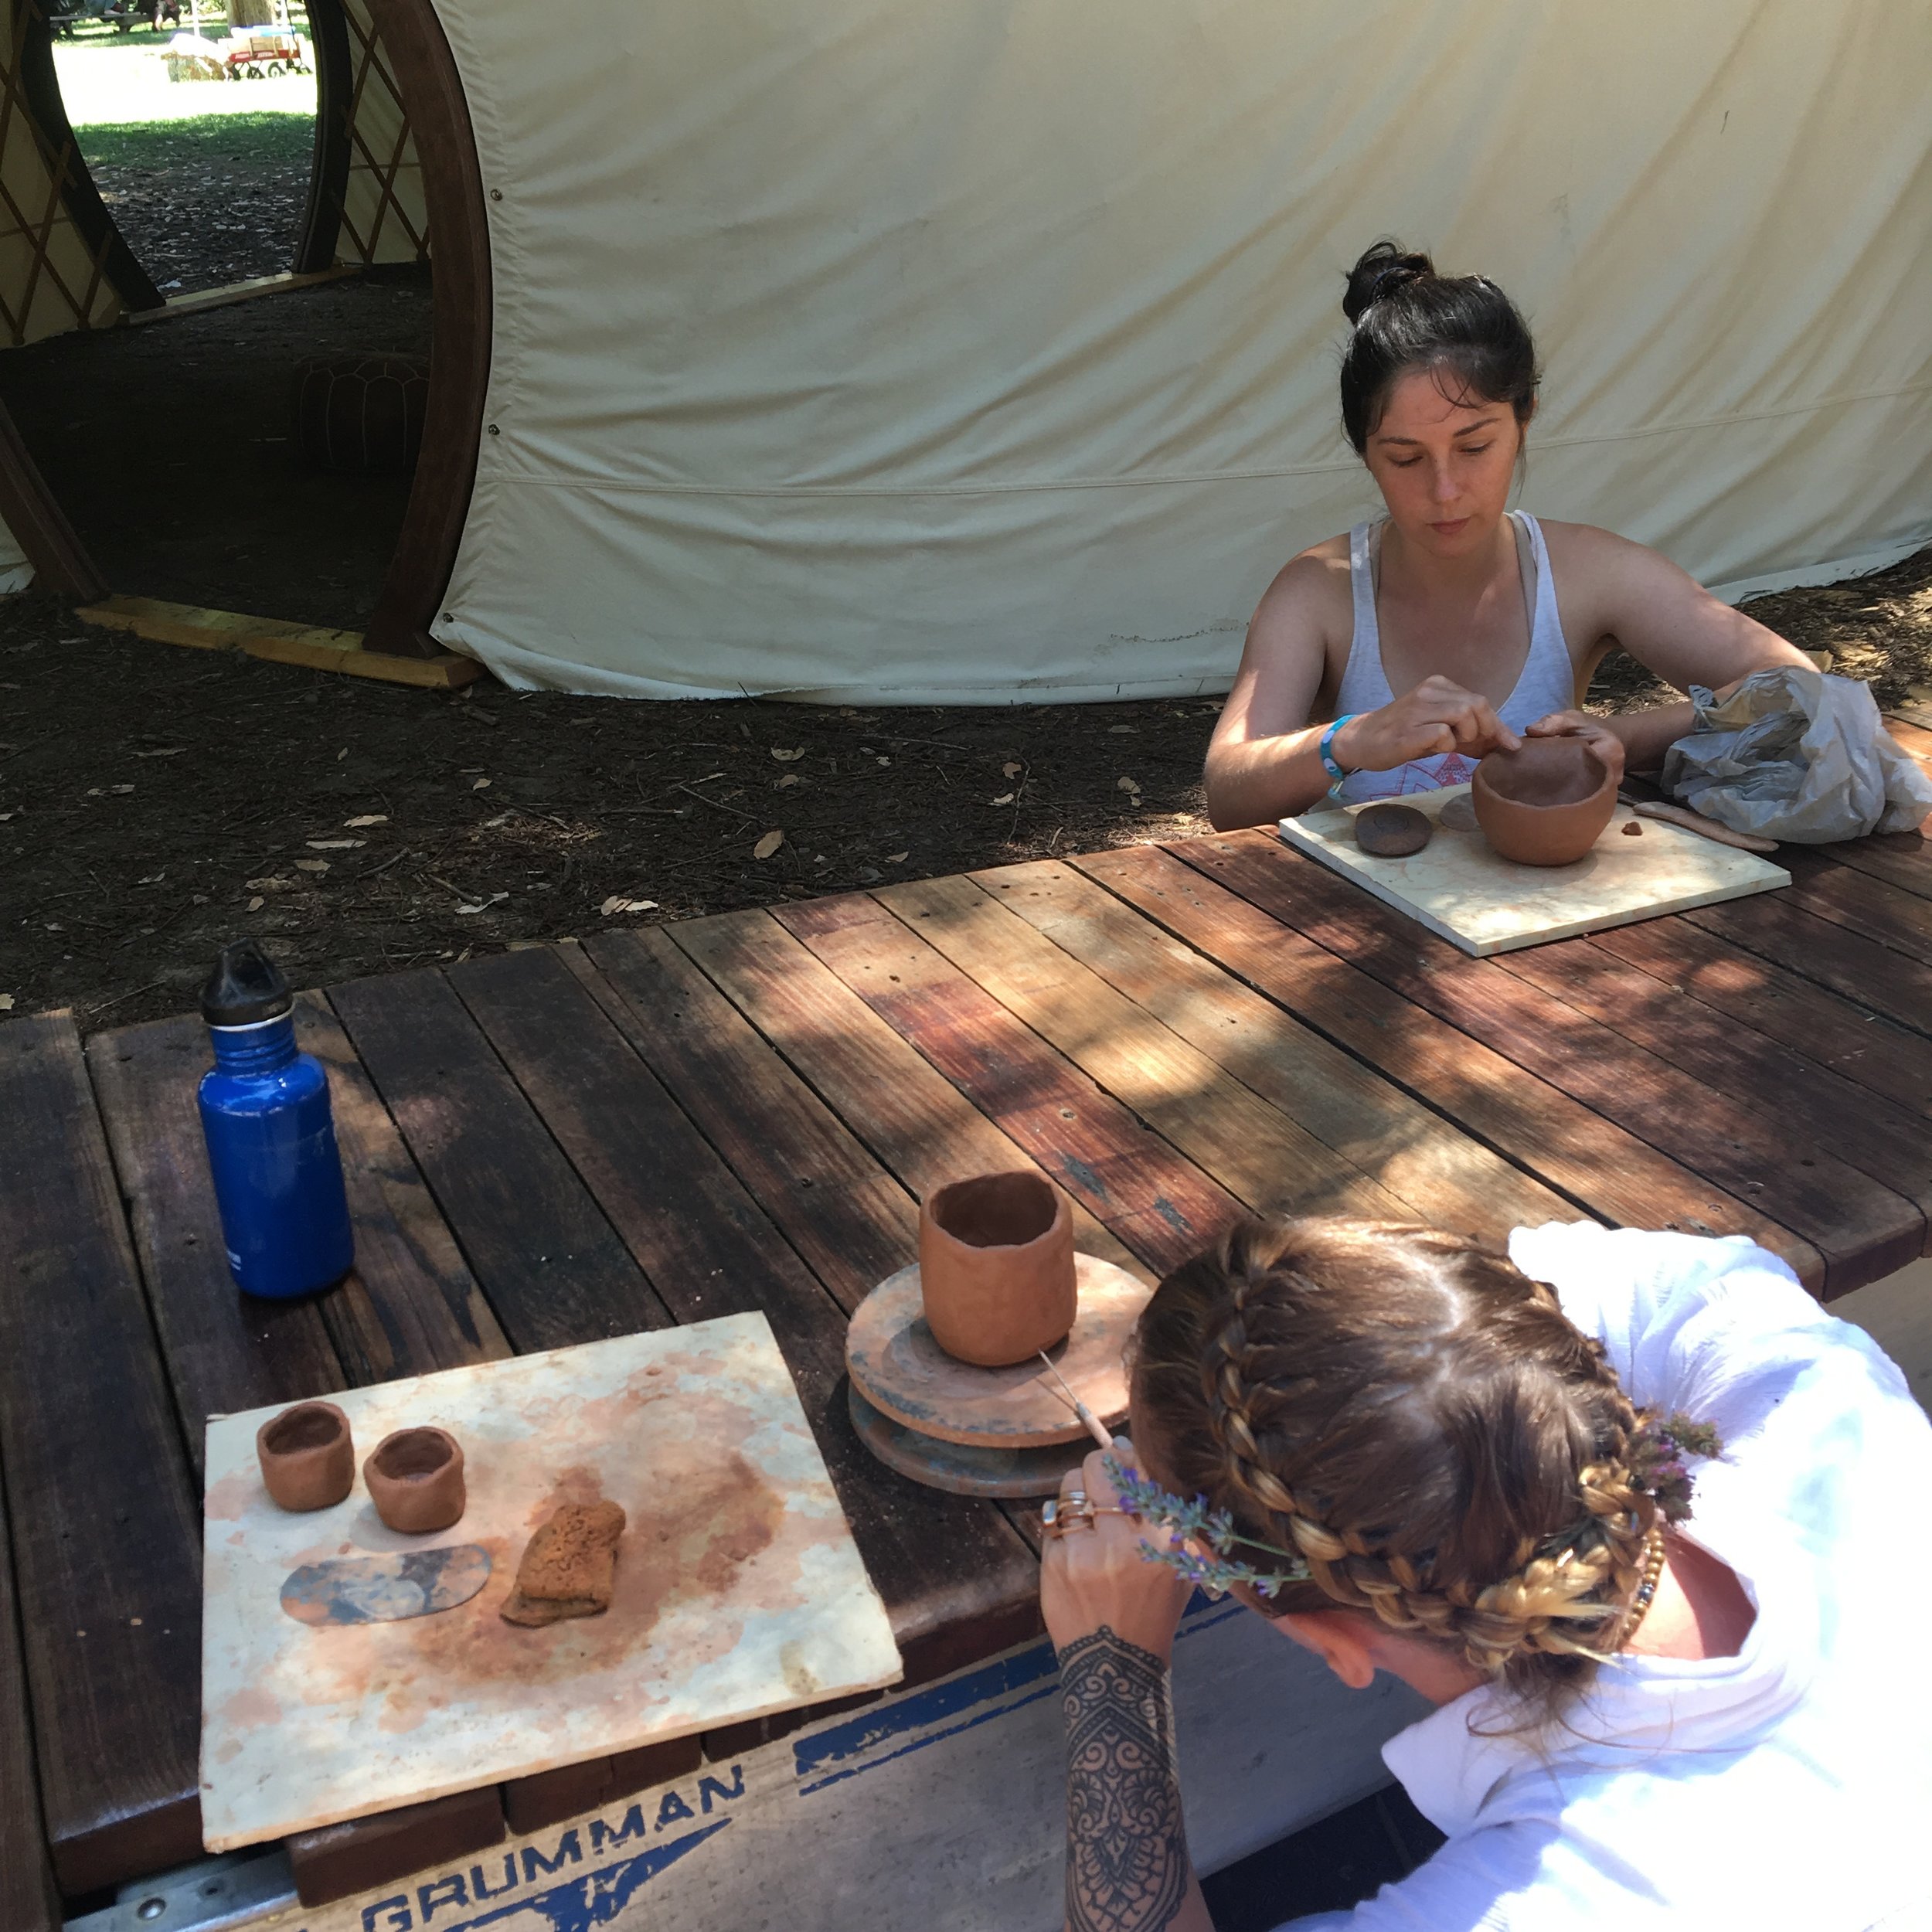
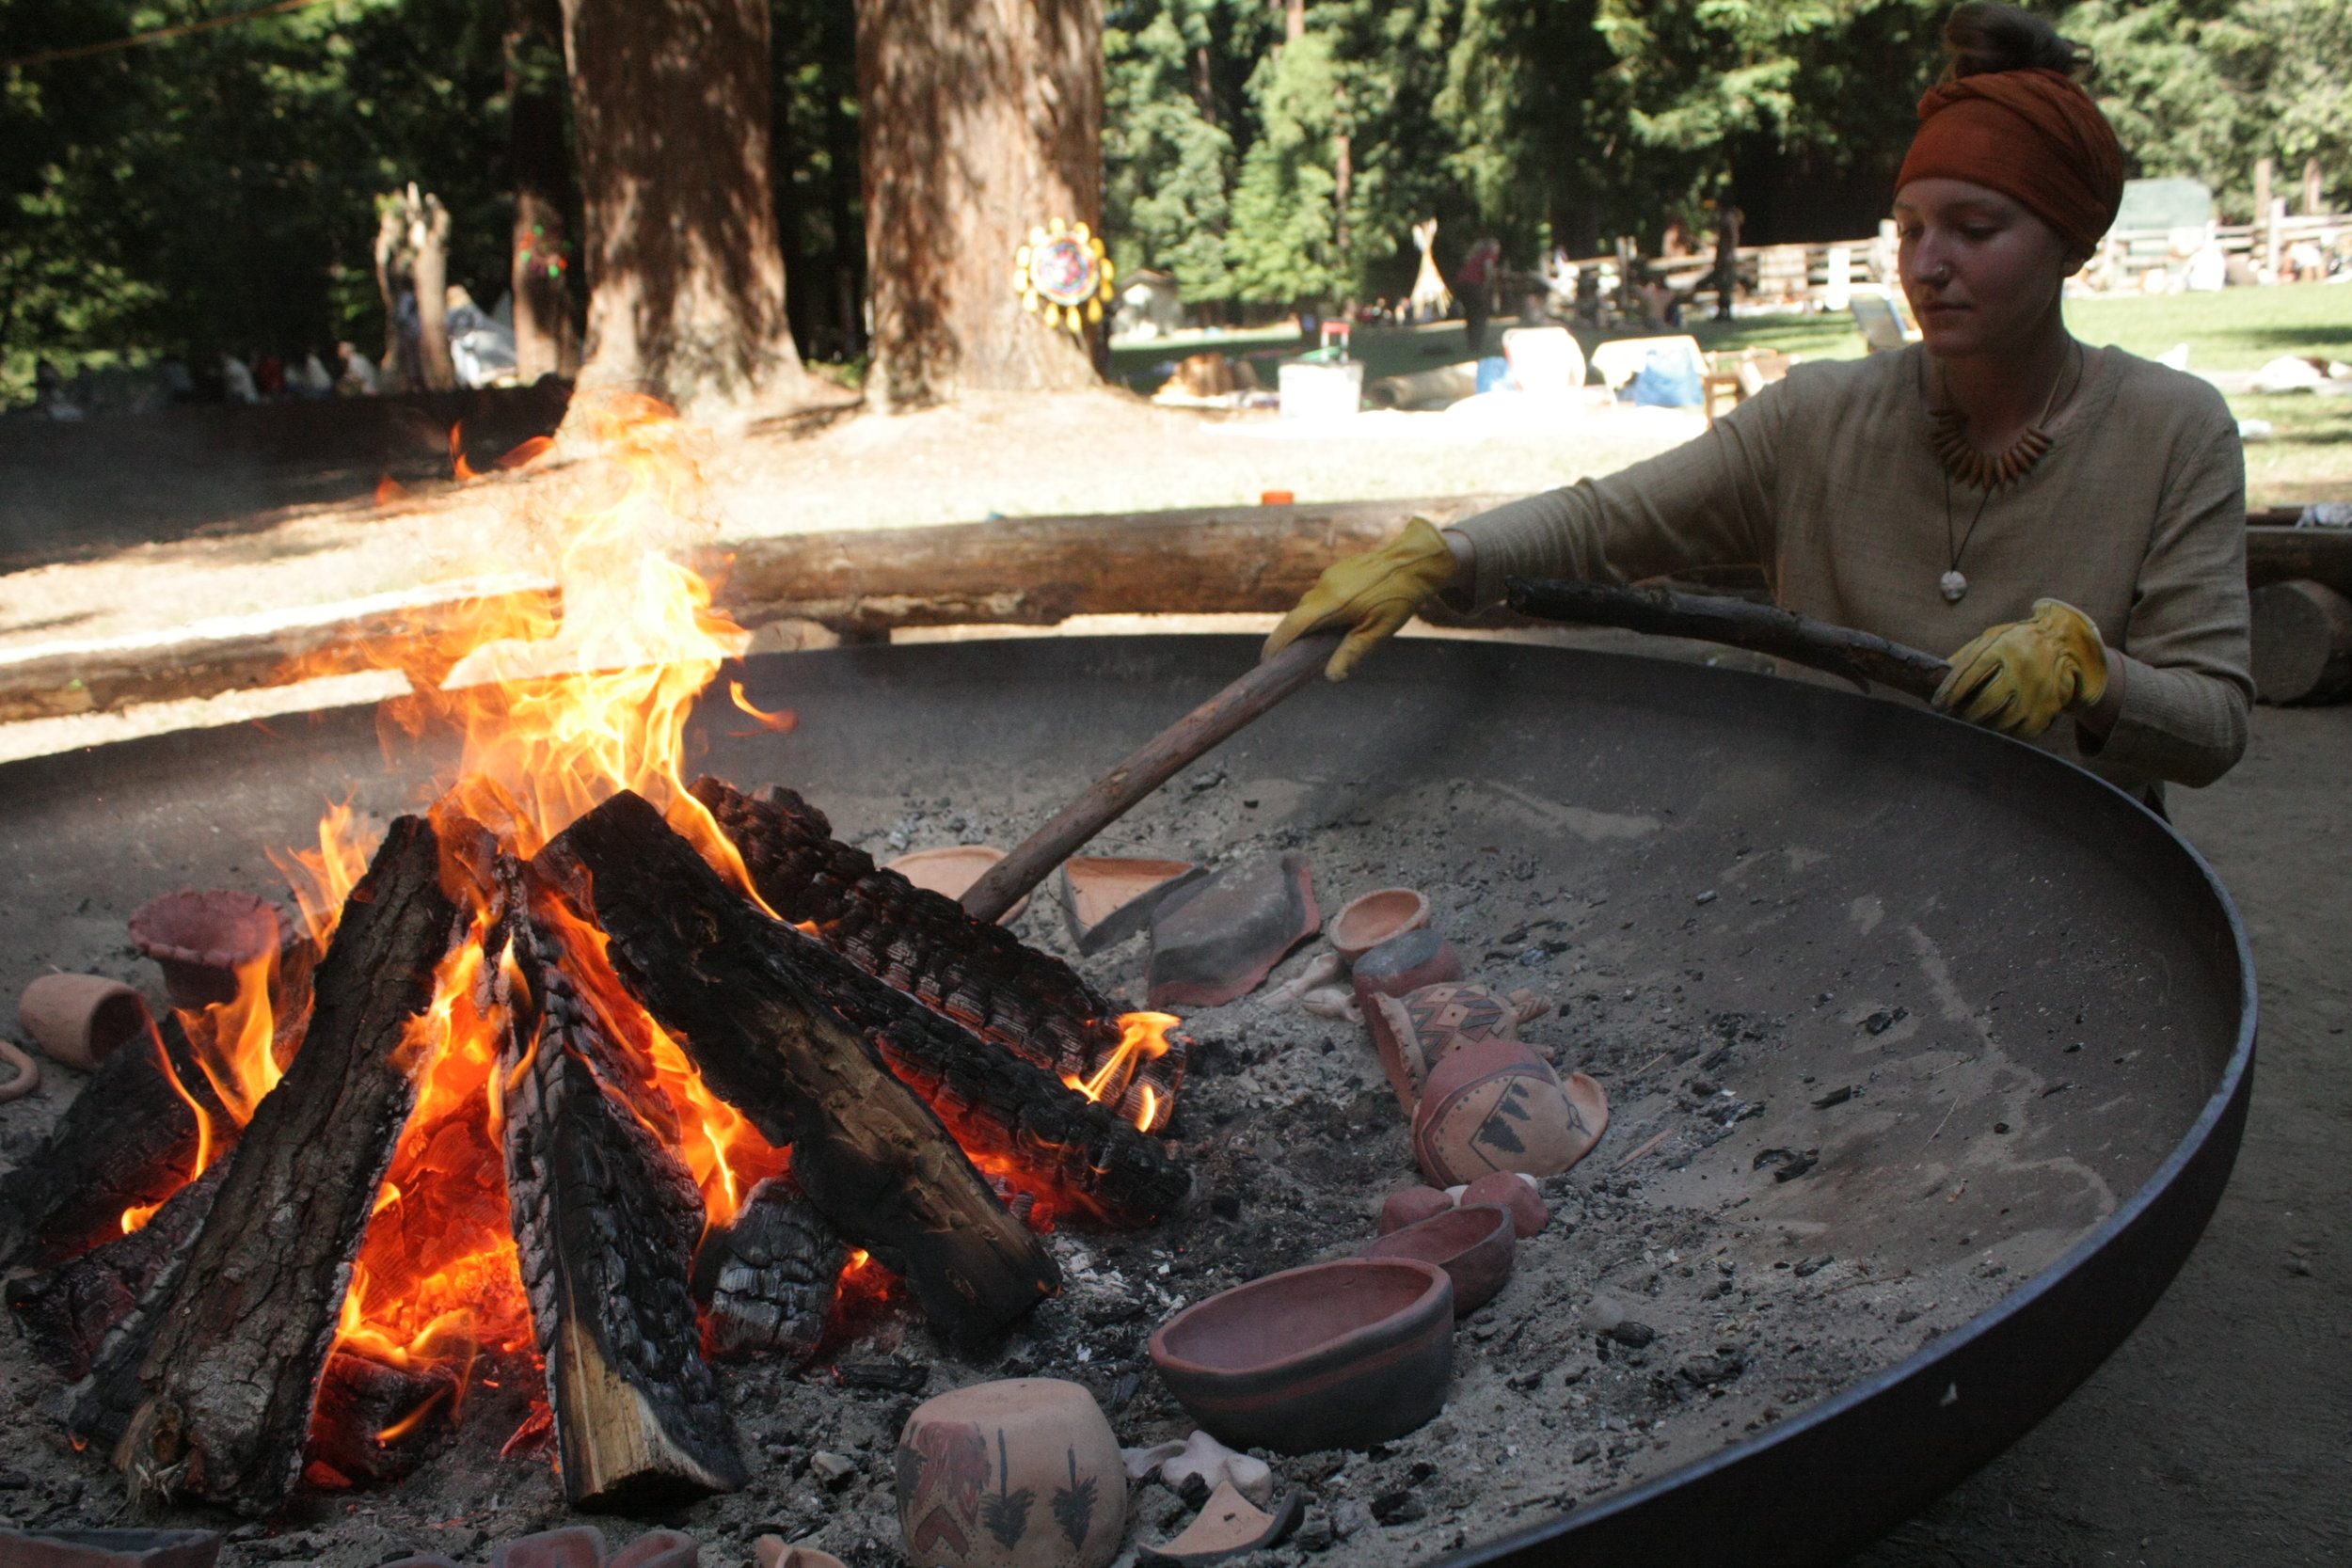
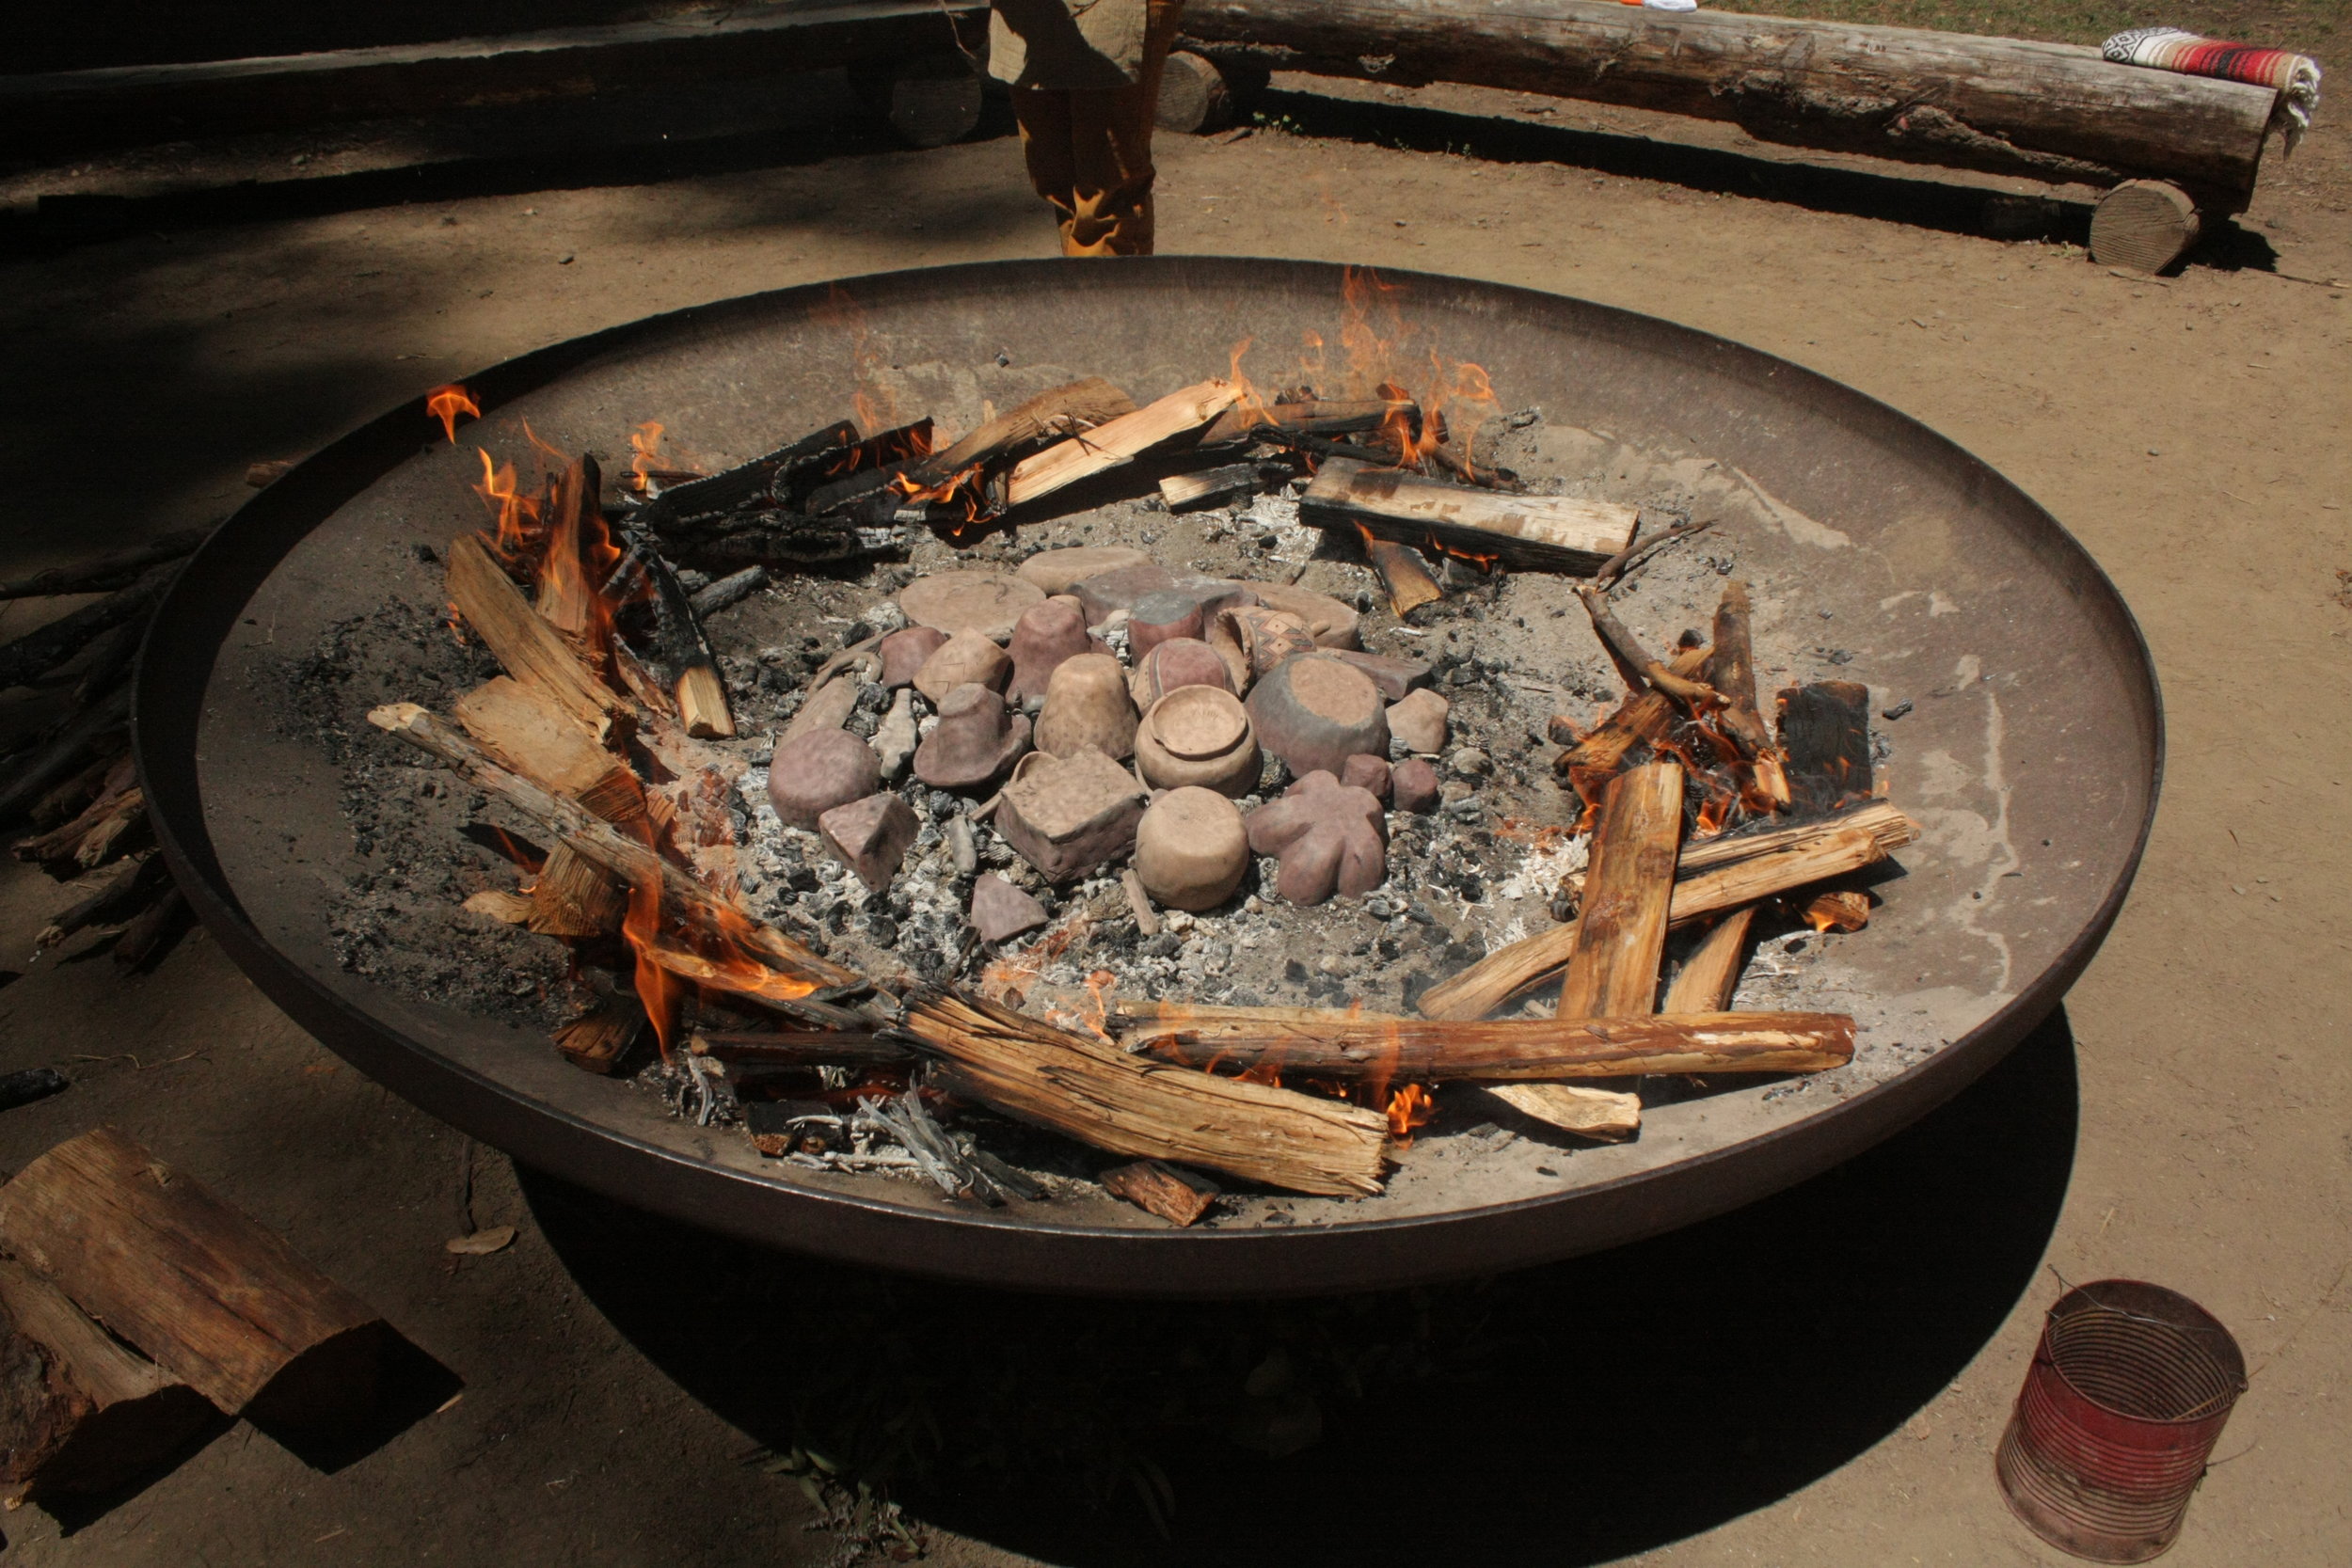
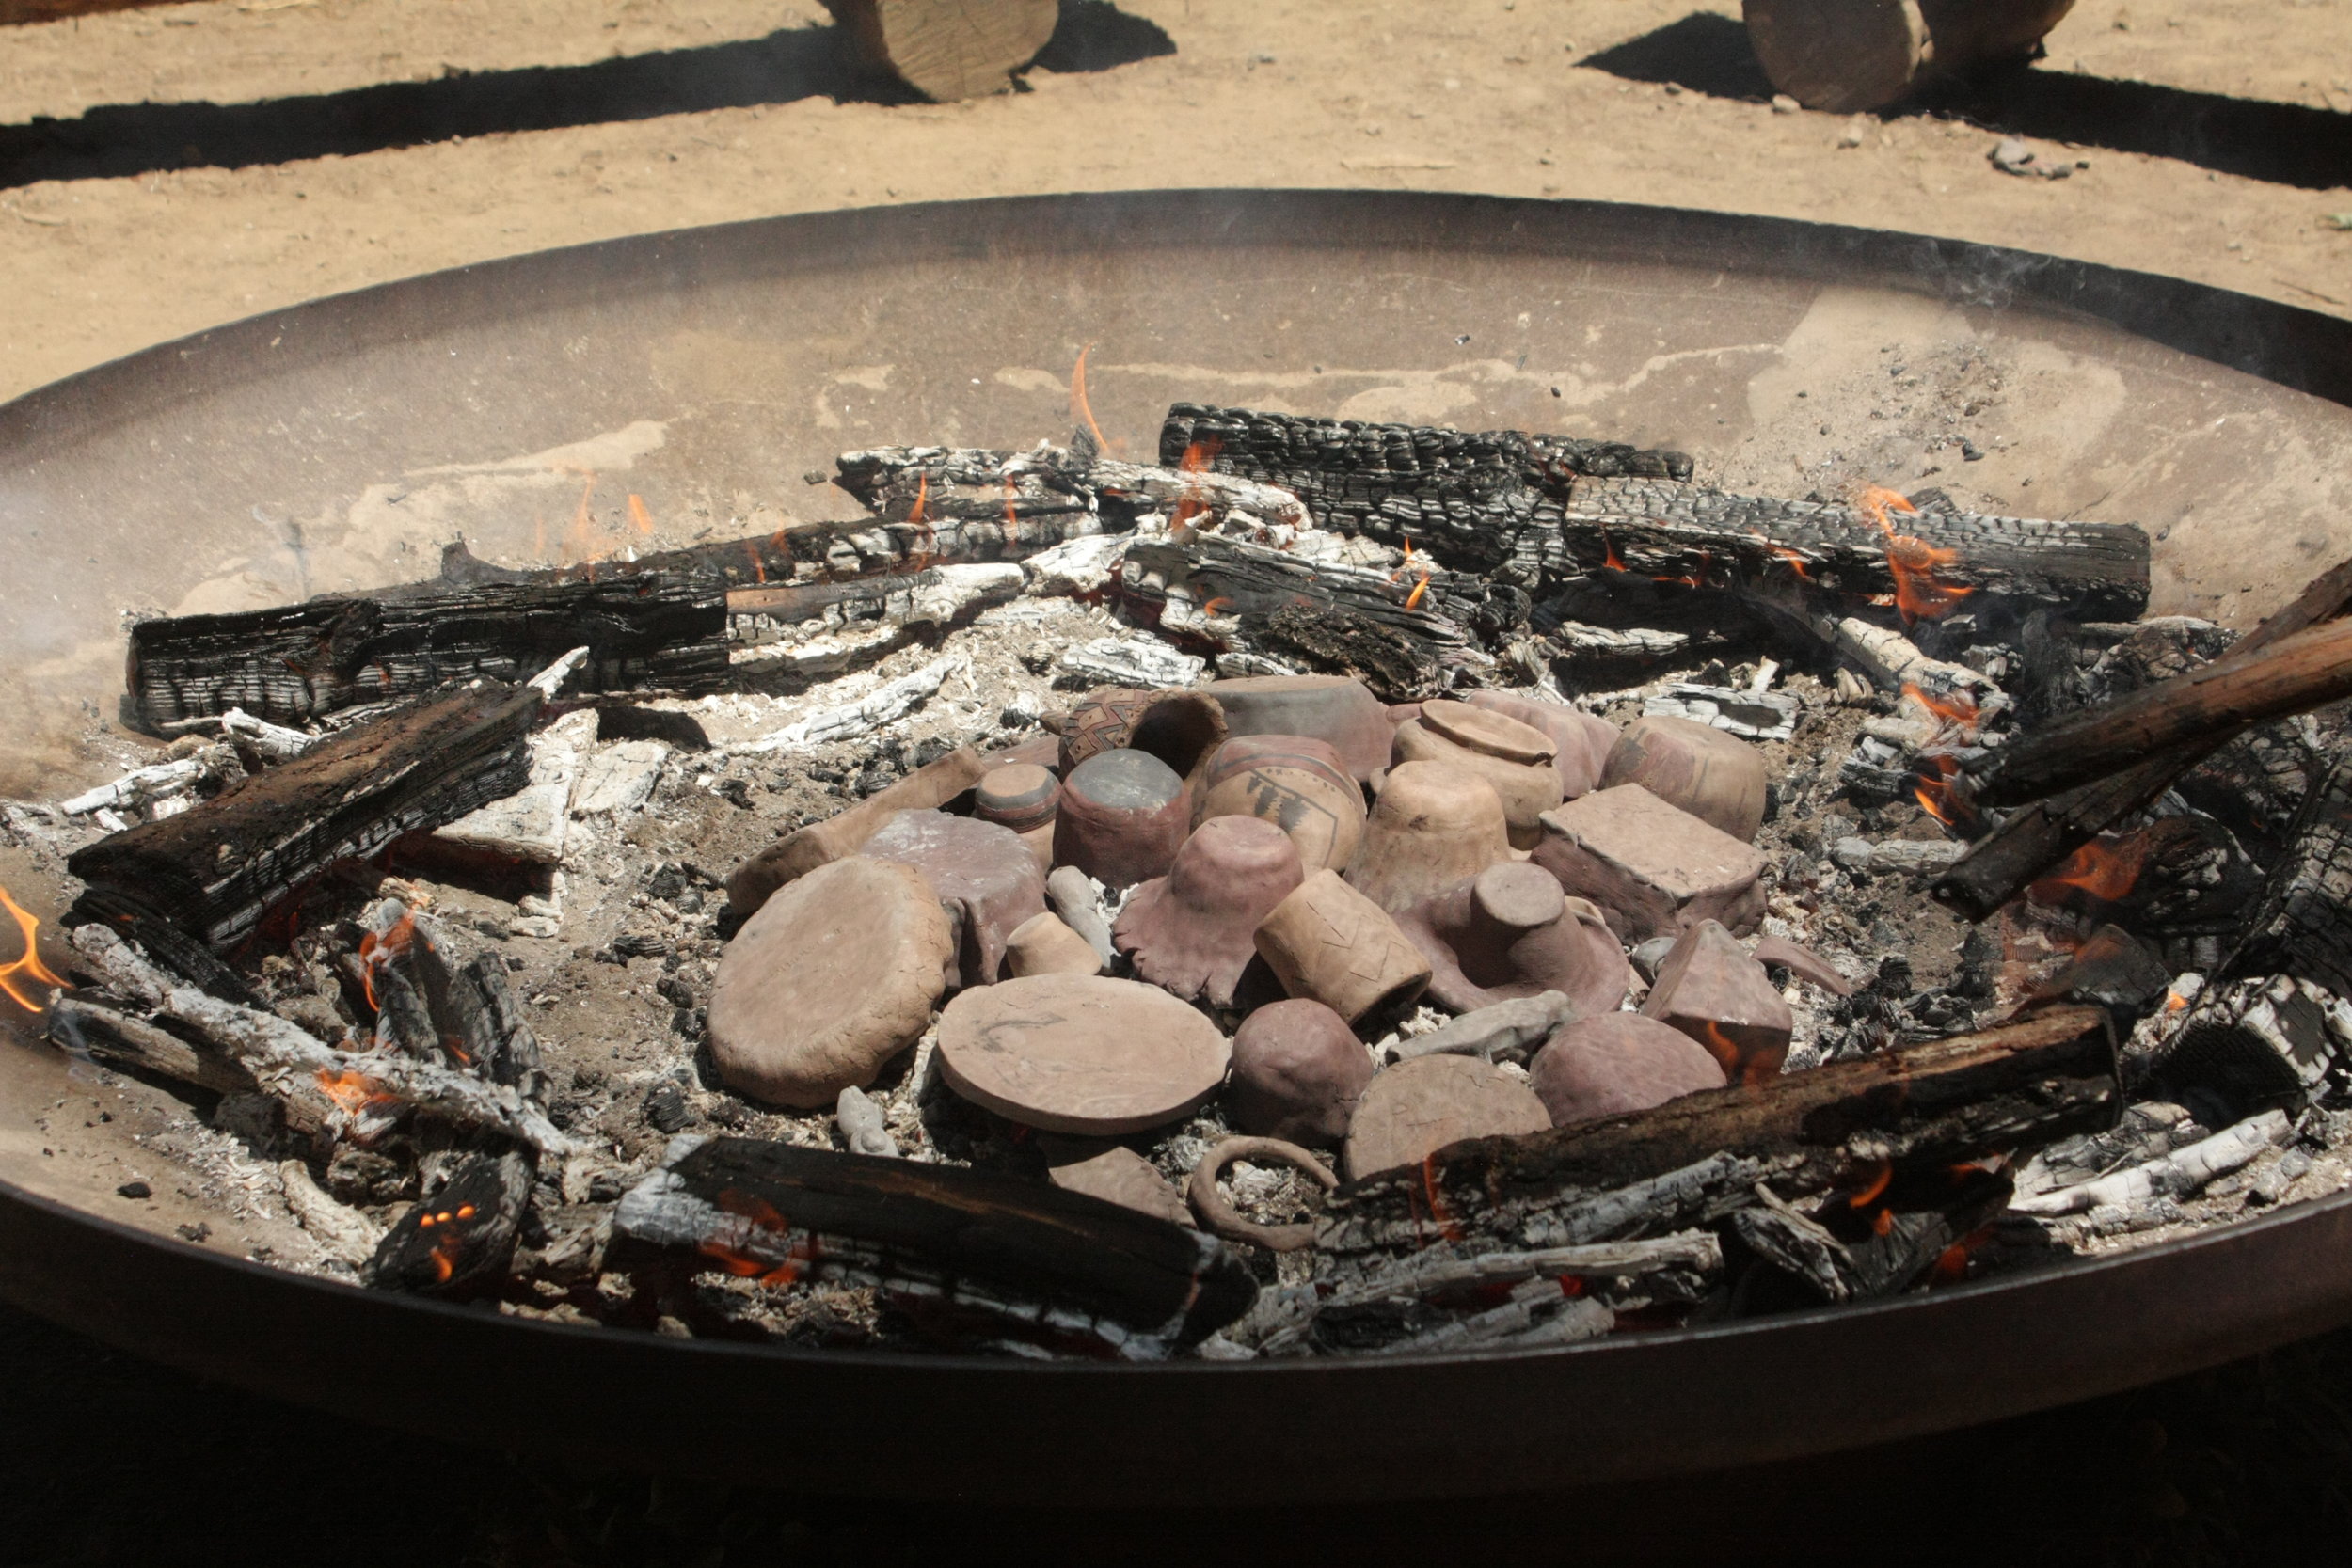
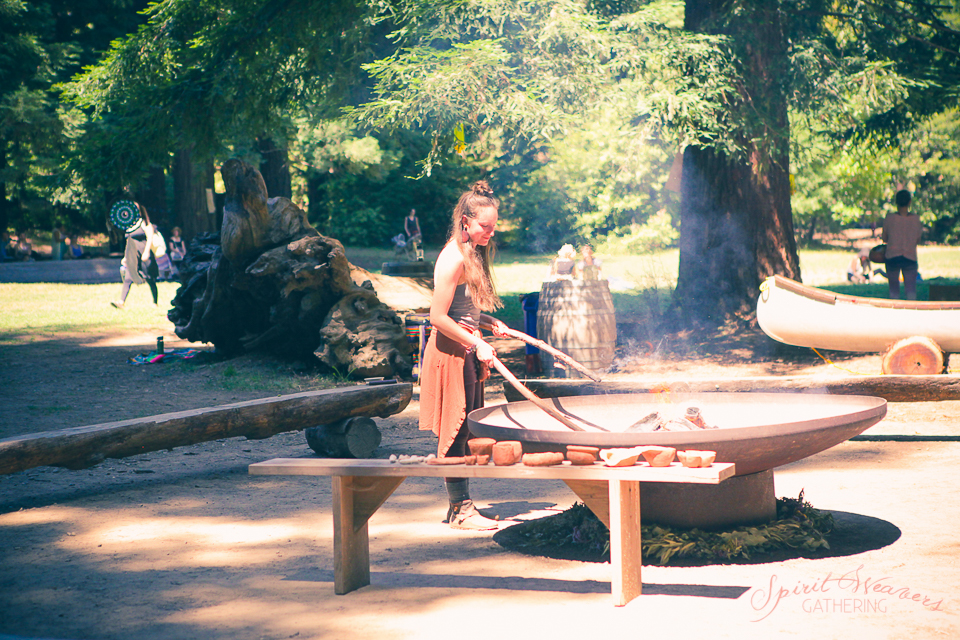
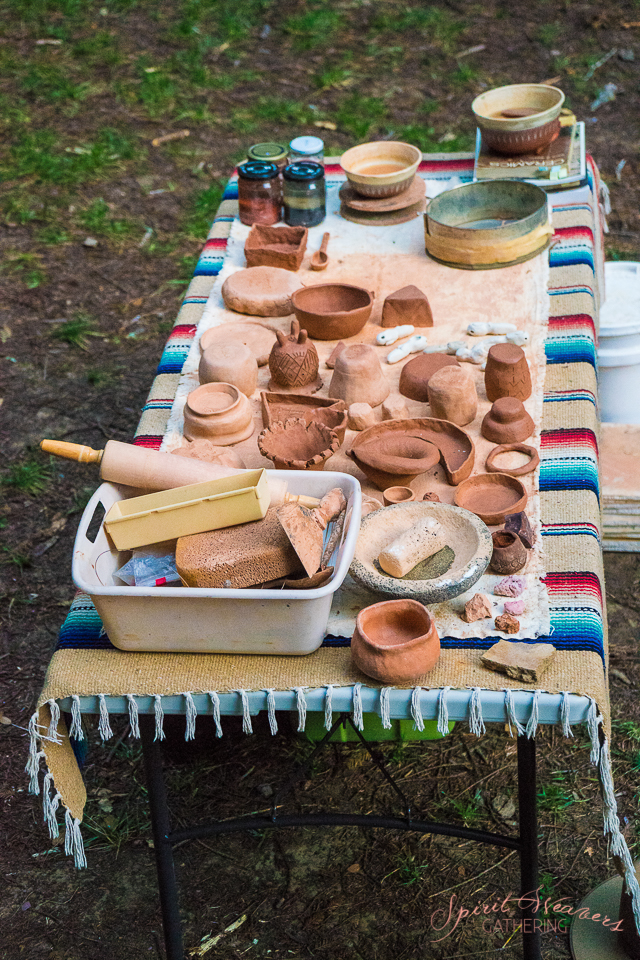
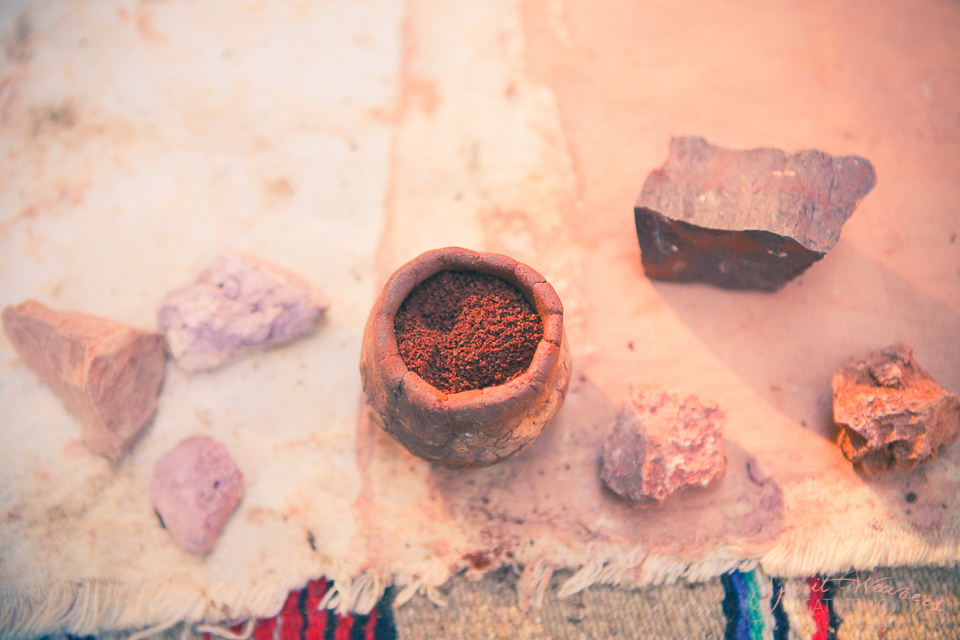
For my class, I discussed the history of primitive pottery, how to harvest and process local clay, and various techniques on forming a pot. We focused on the basic beginner's ceramic technique of pinch-pots. Each student made her own pot and the second day we decorated the pieces with different clay slips made from ground up oxides and ochres. We ground up chunks of Manganese and Red Iron Oxide and mixed the powders into the local clay slip to apply to the pots.


